4 Wheeling in Kansas on the Kaw River and Tuttle Creek
If you live in Kansas and like 4-wheeling, there aren't a whole lot of optoins. Tuttle Creek and Kansas Rocks are two good choices though.

If you live in Kansas and like 4-wheeling, there aren't a whole lot of optoins. Tuttle Creek and Kansas Rocks are two good choices though.
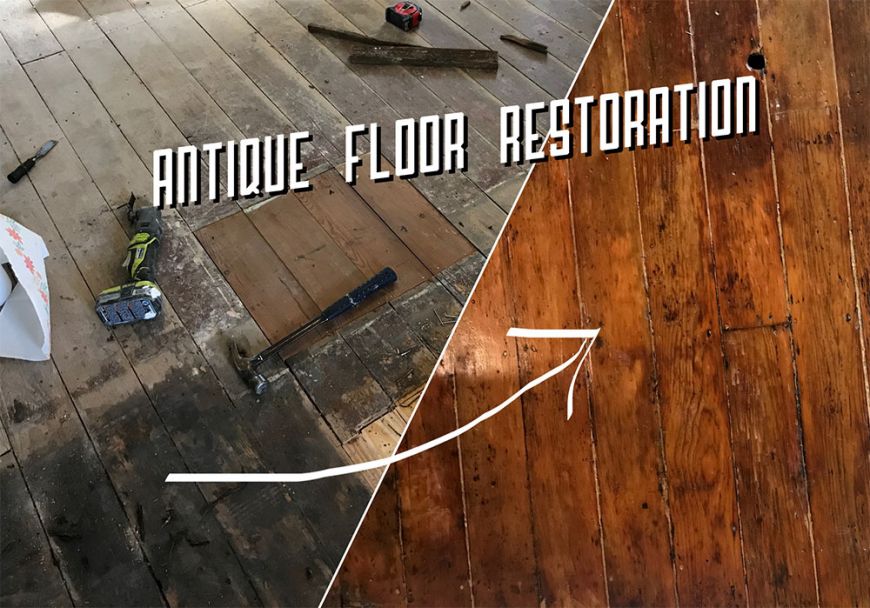
When we bought this house last winter, we did it assuming that there was a hardwood floor underneath the carpet. We were right: antique douglas fir planks! But repairing and refinishing them was not easy. We made a few mistakes, and one of them I can honestly say was the biggest mistake we've made yet during our renovation.
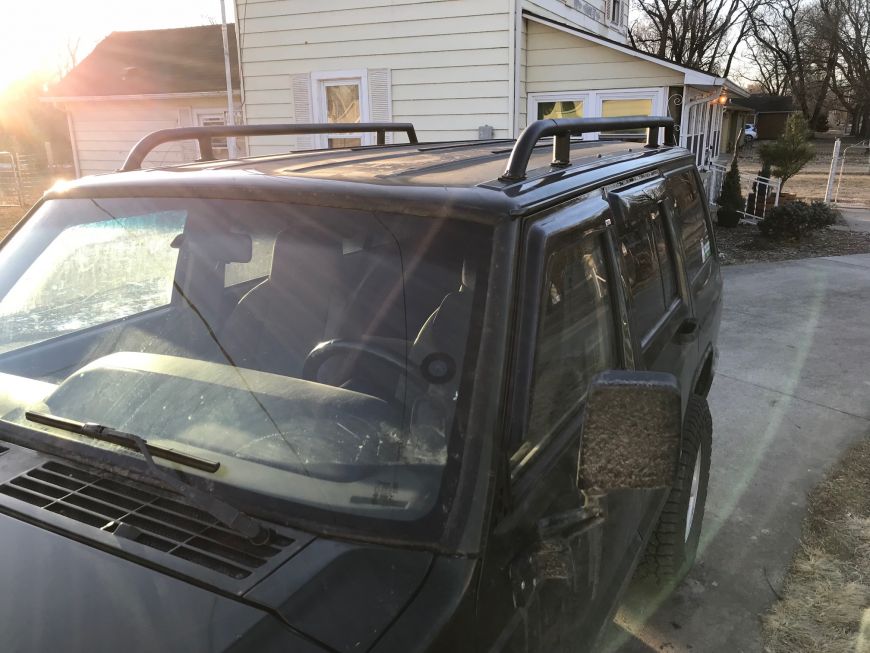
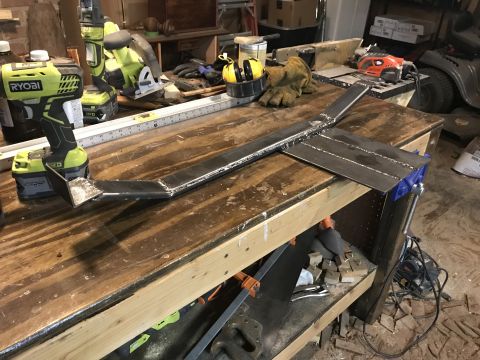
I just bought my first welder. It's an inexpensive DC inverter stick welder from Amazon, and at $170 I think it's a really really good value. Before I move on to building my own custom bumpers, I wanted a smaller project to practice on first. So I chose to replace the stock roof rack bars with a custom one. The one I build will have removable crossbars, and the crossbars create a high amount of drag on the road, so it will also be more aerodynamic as well as stronger and better looking.
We completely gutted the stairs down to the stringers and rebuilt them. They challenged me at every step along the way - no pun intended. I had to use every tool I had, every skill I knew, and every ounce of my patience. Do not try this at home!

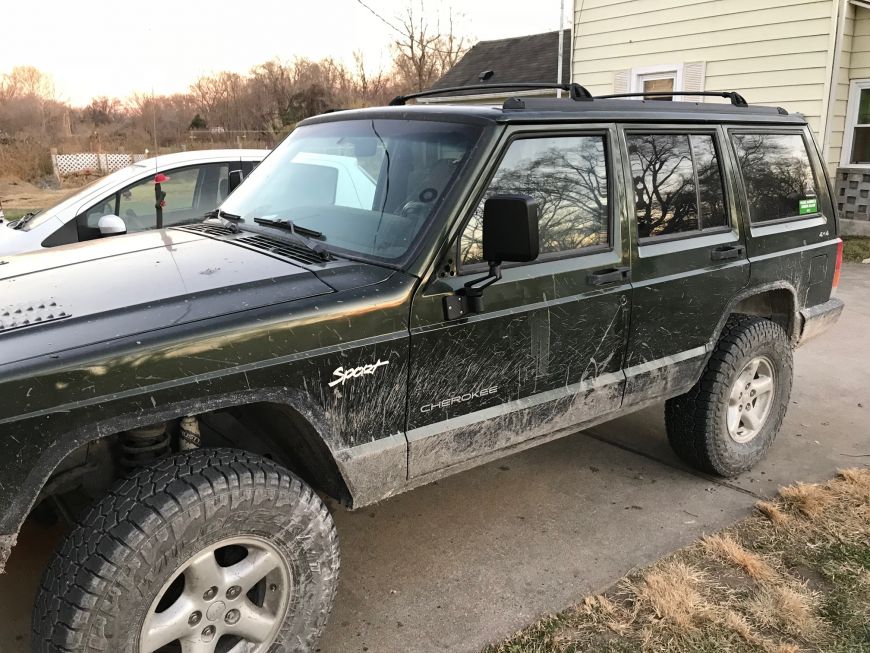
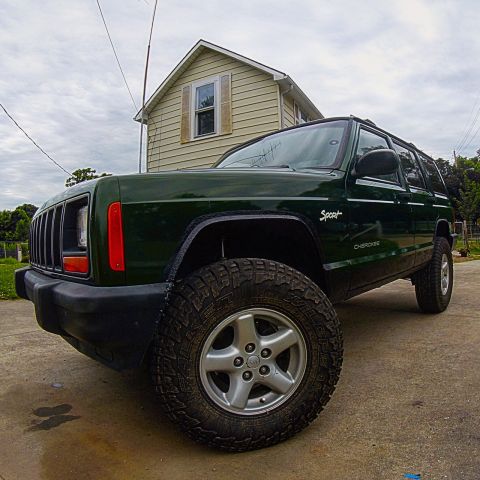
I've always hated the mirrors on my 1997 Jeep Cherokee XJ. They're too small and they look dumb! A rugged, manly vehicle deserves rugged, manly mirror. Right? I got these mirrors from Amazon for less than $40 for the pair and I'm really happy with them. They're for a TJ Jeep Wranger but they also look like YJ mirrors.
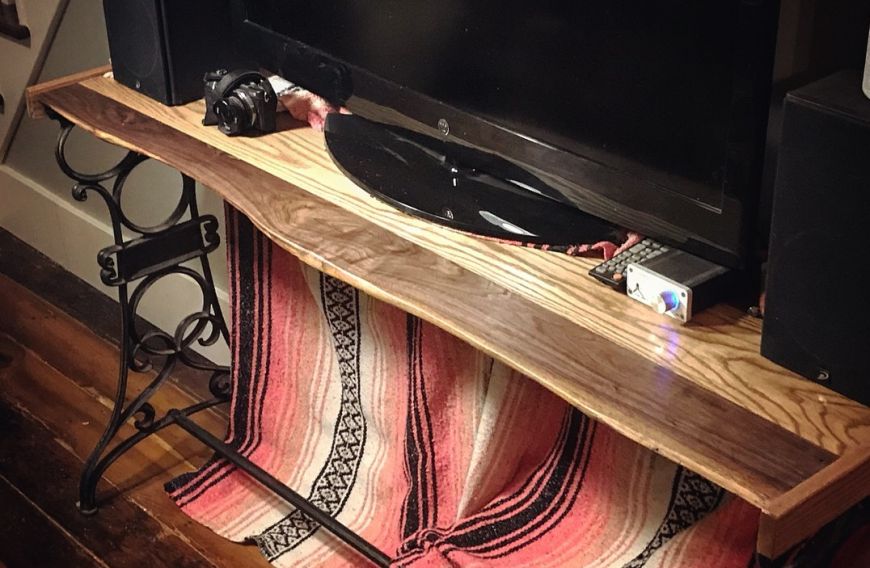
I had a round-back live-edge black walnut slab and I wasn't sure what to do with it. It wasn't wide enough to a table on it's own. So I added some oak to widen it and turned it into a long, narrow console table! Here's how I did it.
Project Cherokeeper -- my 1997 Jeep Cherokee XJ -- needed a little protection for its soft belly. The aluminum transfer case is totally exposed and if it hangs up on a large rock, it can crack. And if that happens, neither axle is moving and I'm going nowhere. Here's how I built my own.
In the middle of our epic California coast adventure, my fiance and I decided to try a little backpacking along the Redwood Creek in the Redwood National Park in Northern California - it's the only place in the park where dispersed camping is allowed. We followed that up with an experience I'll truly never forget: horseback riding on the horse trails that go through the heart of the Redwood National Park. Amazing!

Johhny and I built this "bike barn" out of scrap wood we needed to clear out of the garage. I don't think we used the measuring tape once. We just slapped the boards together as quickly as possible. Sometimes we cut them to length and sometimes we didnt. Fun!

These are the things that no one ever told me when I was learning to ride my motorcycle, I just had to learn them for myself. But you don't have to!

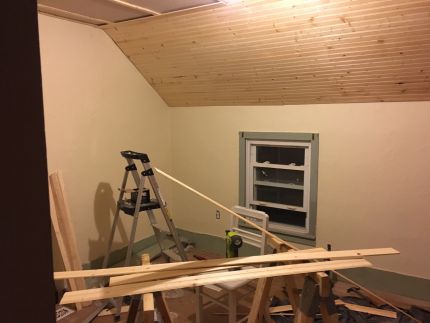
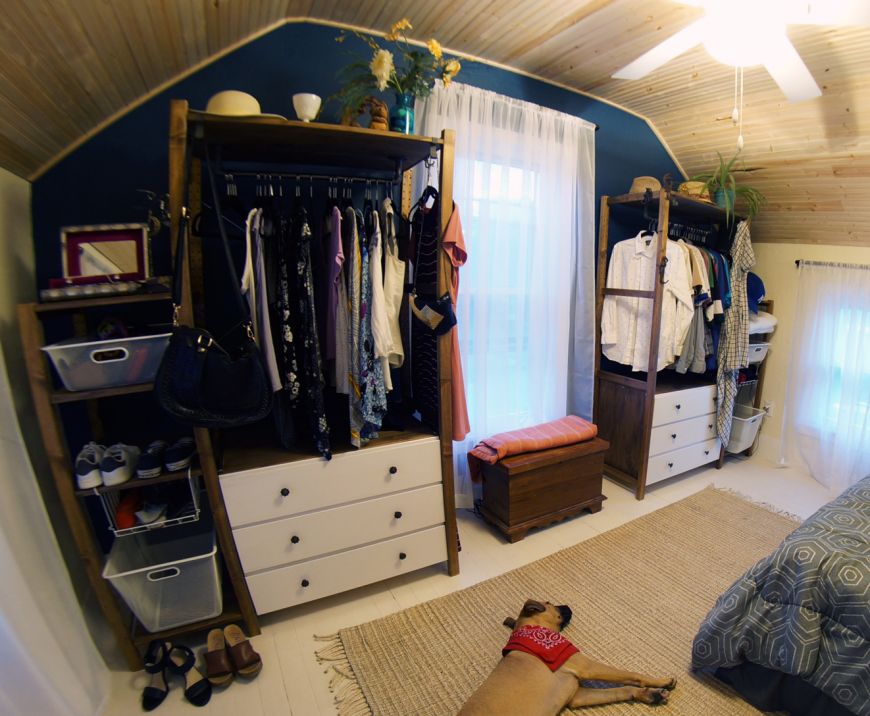
The upstairs bedrooms where the first rooms to get the renovation they so badly needed and deserved.

This was the last 4x4 trail we drove down during out 3 day excursion through Colorado. And by far the most challenging. But here's the thing with Hayden Pass: last year there was a forest Fire - The Hayden Pass Fire - and the 4x4 road does go through the burn scar. I was really worried that the road would be covered in a thick layer of ash, making it impassible. My only other experience with traversing through a burned out area was during a backpacking hike through Yosemite. The trail was completely destroyed and we lost it because the earth was so scorched and covered in ash.
Medano Pass is a "primative" 4x4 road through the Great Sand Dunes National Park and Preserve and one of only two trails that allow you to travel over the Sangre De Cristo mountain range (the other being Hayden Pass which we drove over the next day).

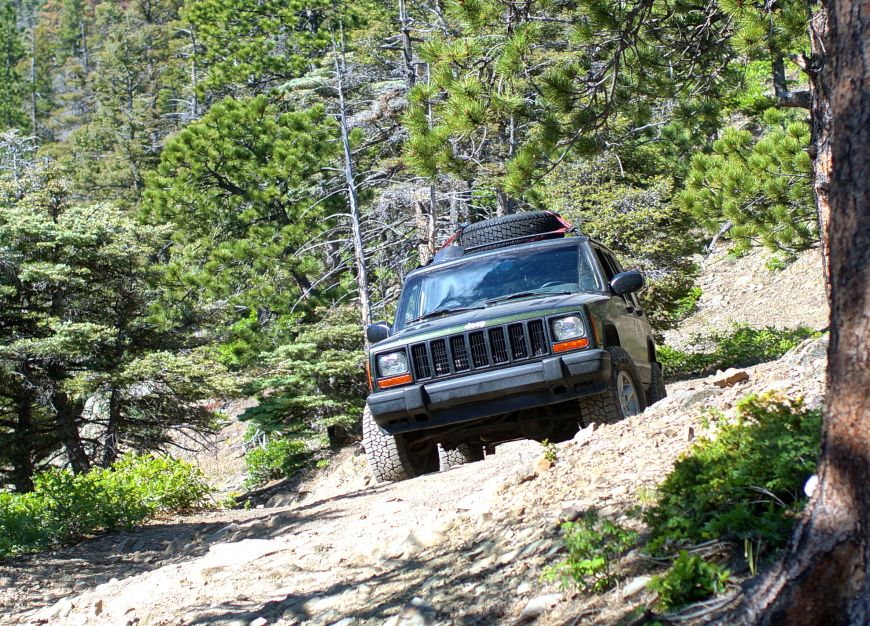
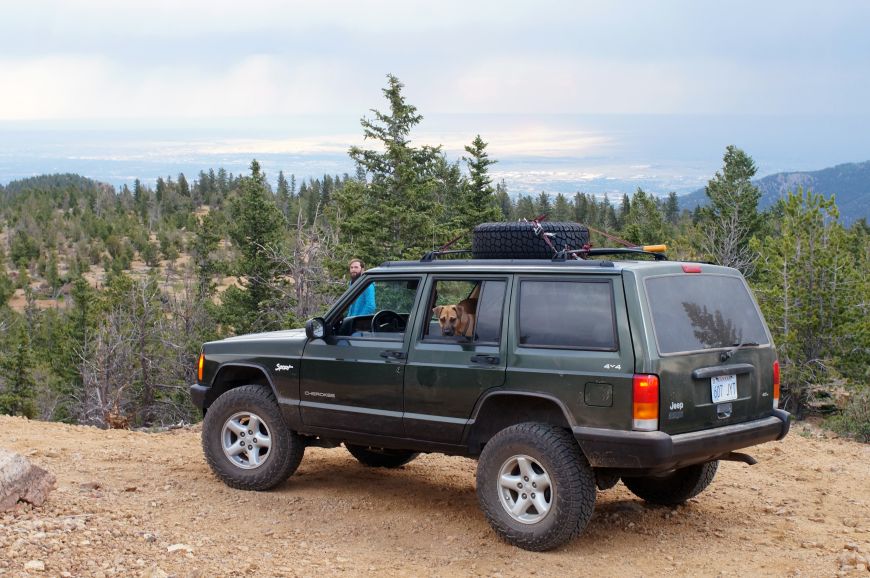
Colorado or bust! That was my mantra while driving from Eastern Kansas to South Central Colorado - a 10 hour drive - to go off-roading in my new Jeep XJ Cherokee for the first time. Not only had I never been off-roading in the Jeep, I had never been off-roading in Colorado either! So it was about to be a whole new experience for me. However, I promised myself that I wasn't going to attempt any "rock crawling" on this trip due to the lack of skid plates and the true soft belly of the aluminum transfer case. And while I didn't have to break that promise on the Mount Rosa and Mount Baldy trails, I would eventually break it by the end of the trip!
The technique for cutting the sheet metal is an old, tried-and-tested process in the Jeep XJ community. Just search youtube or any jeep forum and you'll see the same method each and every time. Trim the sheet metal up front, and "cut and fold" the sheet metal for the rear fenders. What I did was I tried to trim off just a enough so that there would still be a little tiny metal fender flare left. This meant cutting right along a bend in the sheet metal - which also meant the shape/profile of the fender arches would remain mostly stock - or, in the case of the rear, cutting up to that bend and folding the sheet metal over at that point. This also allowed me to keep the windshield wiper fluid reservoir hidden between the outer fender and the inner fender. After trimming the sheet metal, I cleaned them up with some truck bed liner paint, and the end result looks great and functions beautifully.
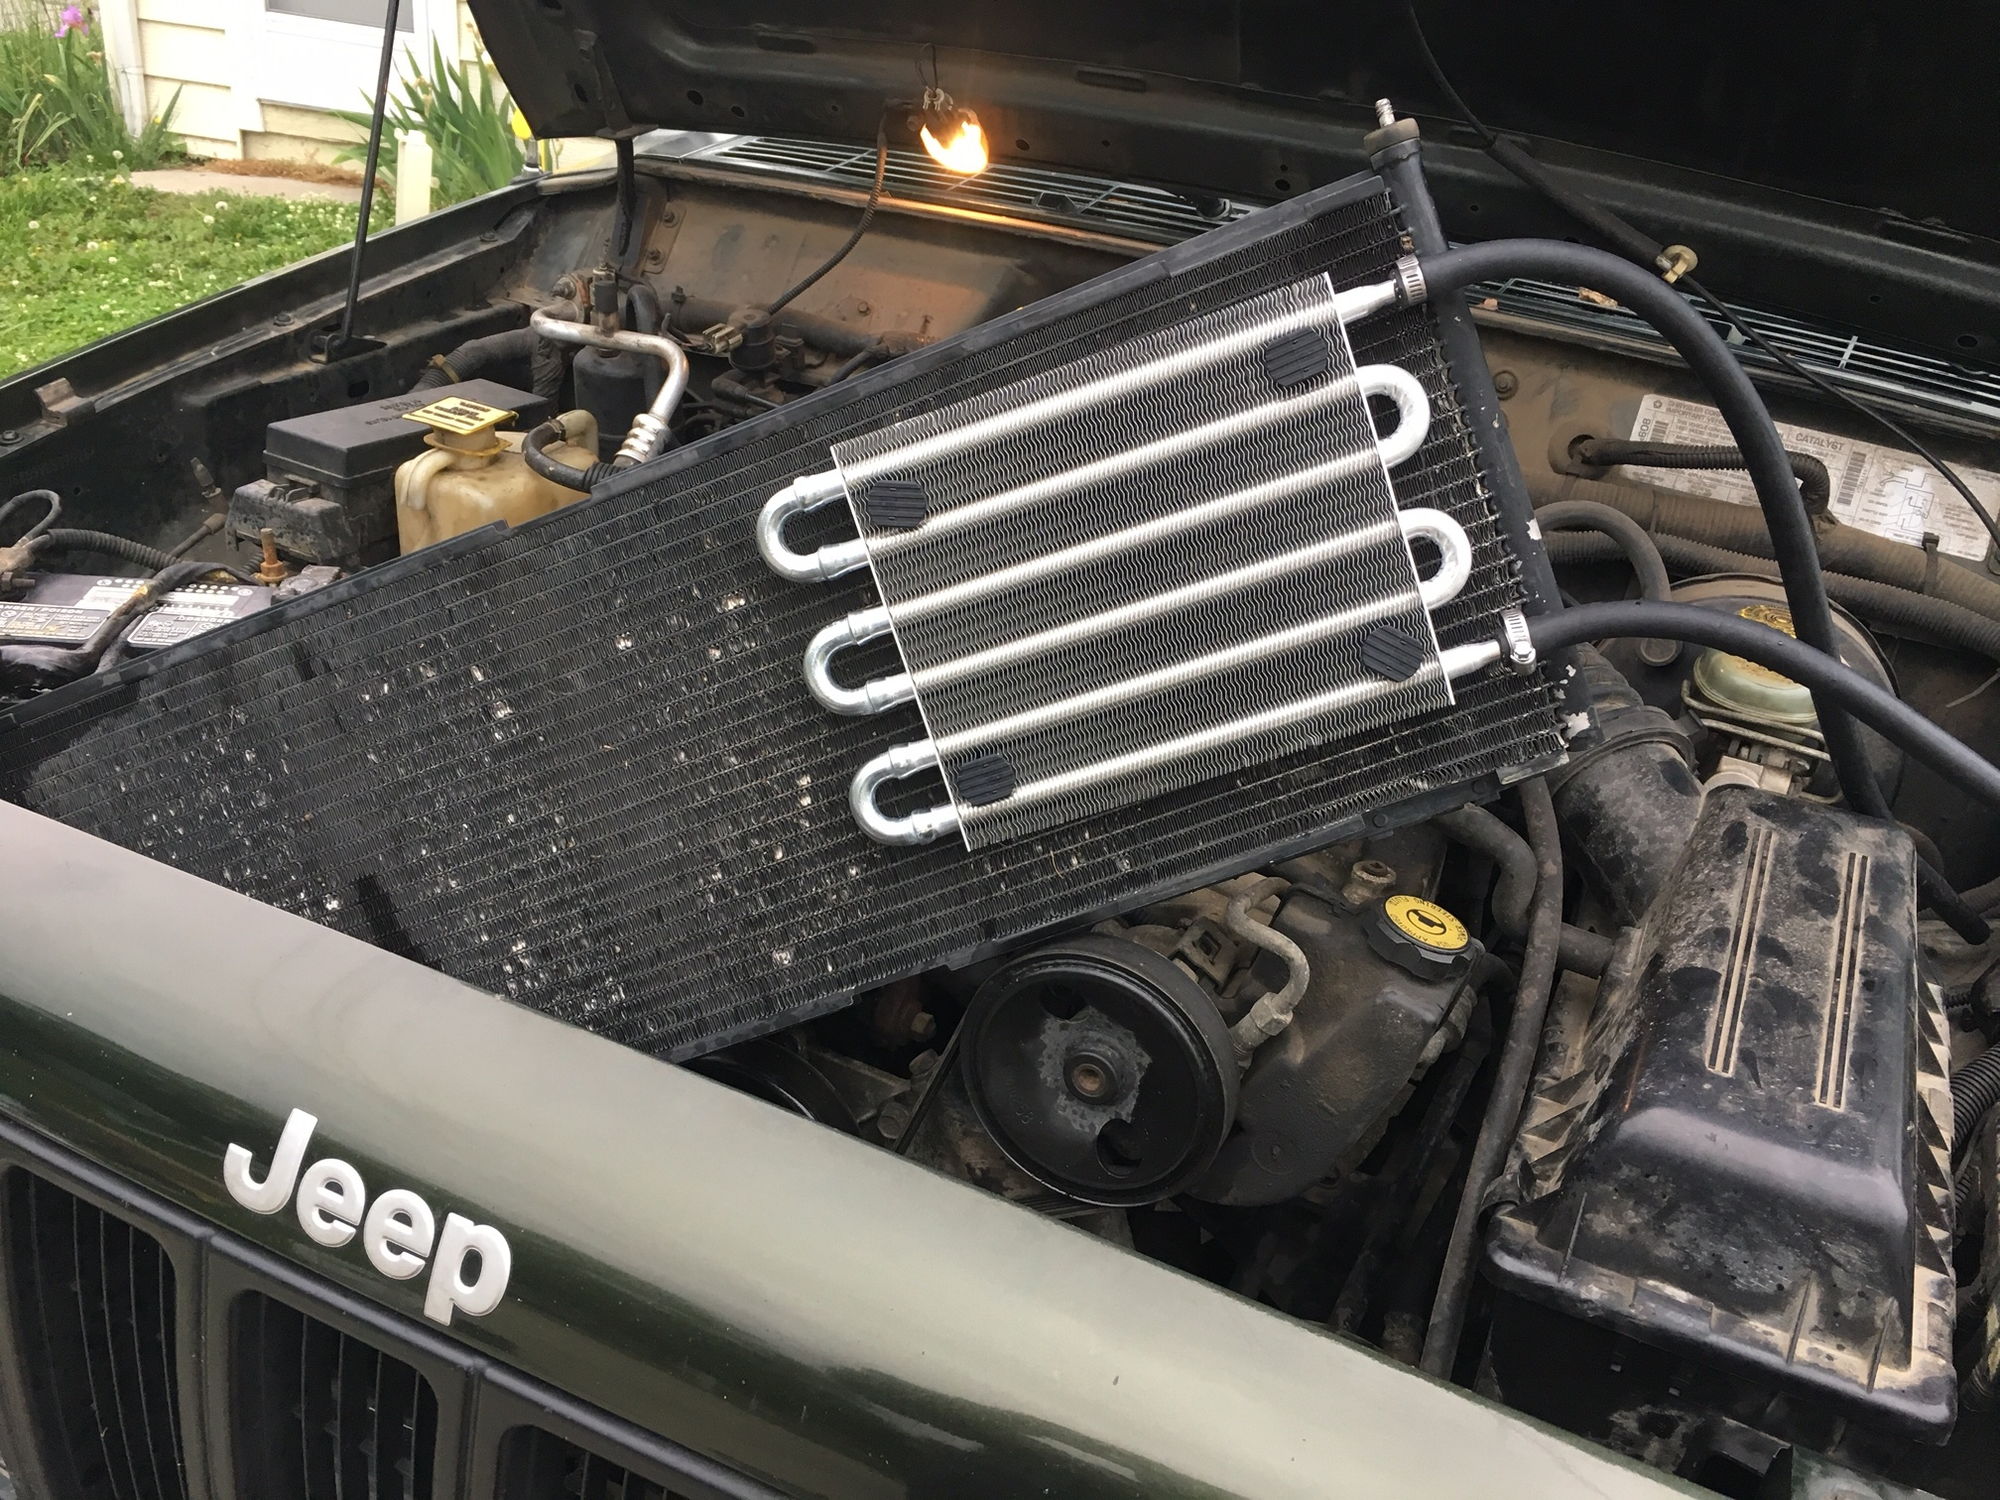
This story, chronically my attempt to overhaul the jeep XJ's cooling system and overcome a mysterious overheating problem, was orignally posted to the website cherokeeforum.com. I ended up replacing the entire cooling system except for the heater core, and in the end it's vastely improved yet the motor still runs a little hot in the summer.
We're so happy with our IVAR open wardrobe system from IKEA, but we had to "hack" it first!
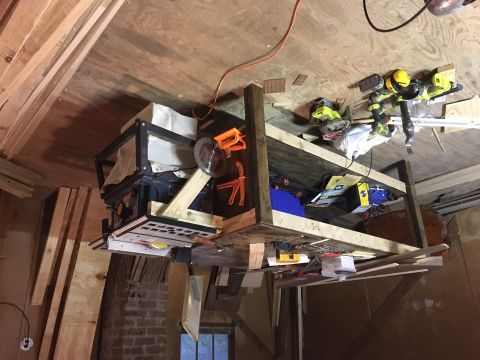
For all the woodworking projects going on during the home renovation, I needed super solid wood bench. I also needed a solid support and outfeed table for my small tablesaw. Here's how I built it.
A year and a half after I painted my truck with Rustoleum and a paint roller, how has it held up?? (Hint: I won trophy in a car show!)

For my This Old Fixer-Upper project, we decided to cover the plaster ceiling with pine tunque-and-groove panels rather than try to scrape off the wallpaper and paint the ceiling. The original plan was to use 4' x 8' sheets of panels that looked like tongue-and-groove boards painted white, but we found the actual stuff at Menards for only a little bit more money per square foot. A pretty good deal I thought. All of the materials cost me a little over $400, including the brad nails, paneling adhesive, polyurathane, etc.